01
Charge the field gear
Charge Ghosts and Executioners to full with a regular 5V USB‑C charger—never a fast charger. If the gear is below 40°F (4°C), let it warm above 40°F before charging.
Ghost + ExecutionerOfficial owner setup
Charge, pair, connect, and test your Hub, Ghost motion sensors, and Executioner prop triggers. Follow the steps below to build your first working scene.
Before you do anything else
Fully charge every Ghost and Executioner with a regular 5V USB‑C charger before pairing. Do not use a fast charger, and never charge a cold battery below 40°F (4°C). The Hub plugs into the wall—it does not need to charge.
Meet your crew
The Motion Sensor (“Ghost”) notices. The Control Hub decides. The Wireless Prop Trigger (“Executioner”) carries the cue to a distant prop. Your bundle may include different quantities, but the roles never change.
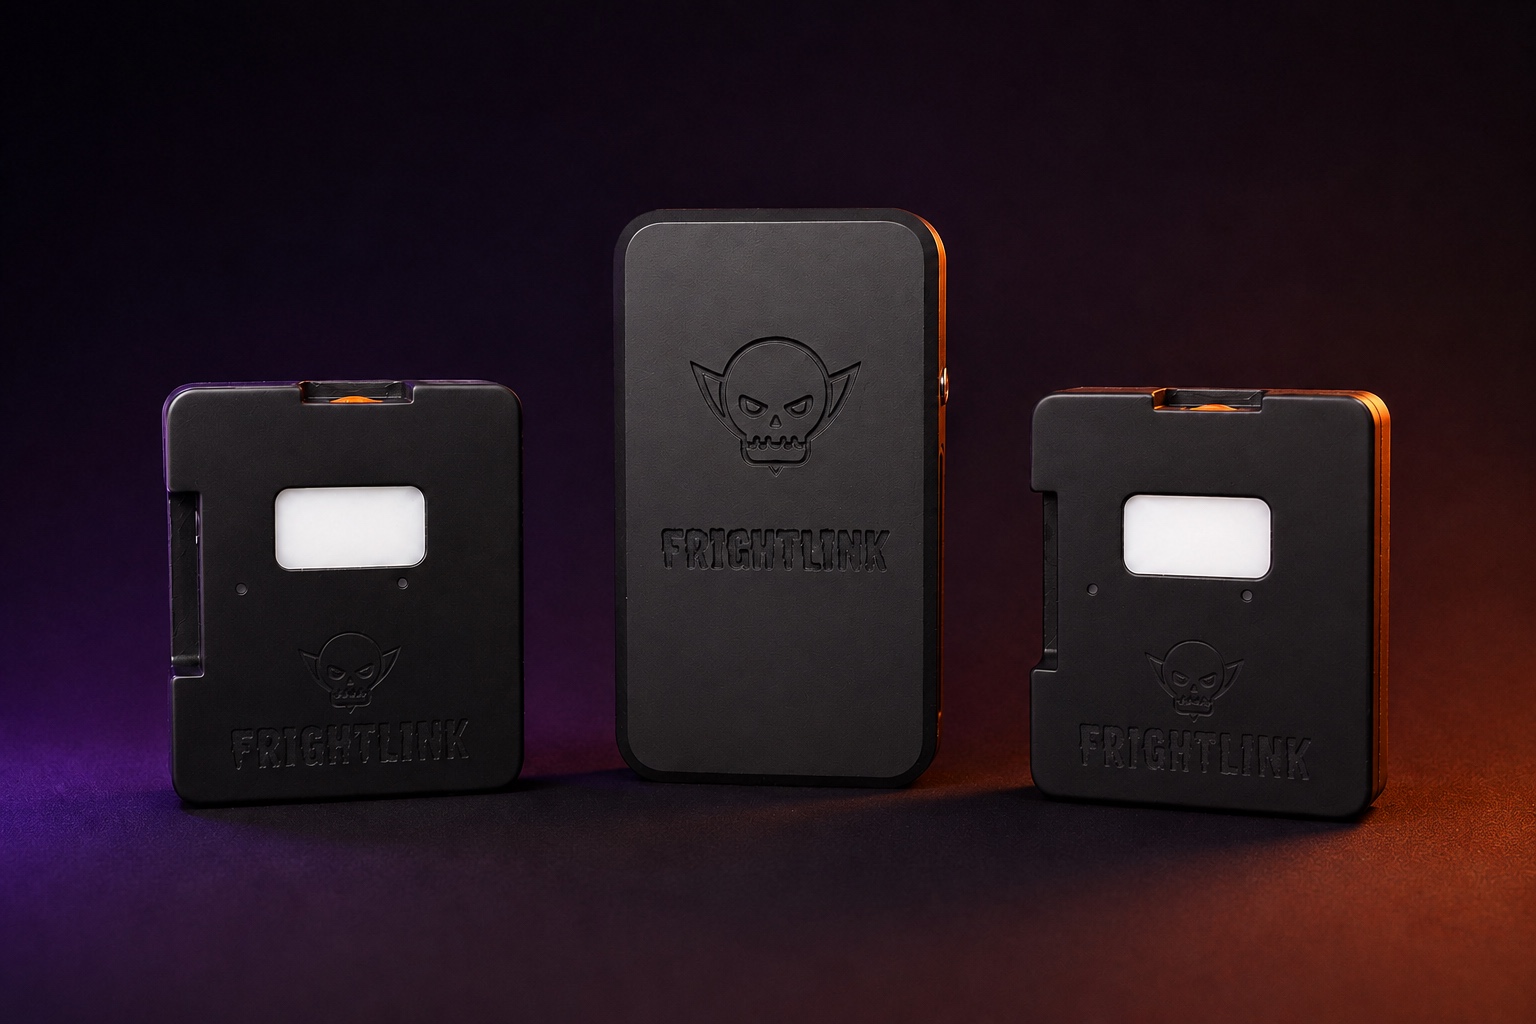
Runs the show. It receives guest events, executes your saved timing, and fires local wired ports or wireless Executioners. Plug it into its included wall adapter.
Watches the guest path. When it detects movement, it reports the event wirelessly to the Hub so the assigned scene can begin.
Plugs directly into the prop's 3.5 mm Try Me port. It receives the cue wirelessly from the Hub, then triggers the prop through that physical connection.
Power connector on the right → the three trigger jacks read AUX · PROP 2 · PROP 1 from left to right.
Know the Hub
Hold the Hub with its power connector on your right. The three 3.5 mm jacks run left to right: AUX → PROP 2 → PROP 1. AUX is the jack farthest from power.
AUX can be configured as a local Try Me or step-pad input, or as a third wired prop output. PROP 1 and PROP 2 cannot be inputs.
Connect a 3.5 mm trigger cable from this jack to a compatible prop's Try Me or step-pad input.
A second independent wired prop output. Give each port a clear name inside FrightMaps so scene building stays simple.
The far-right connector is for the included Hub power adapter. Use only the supplied adapter.
Owner field guide
These are the details that matter after pairing—the rules that prevent damaged batteries, dead sensors, and accidental damage to a Ghost enclosure.
Battery safety
Never charge a Ghost or Executioner while it is colder than 40°F (4°C). Bring the complete unit indoors and wait until it has warmed above 40°F before connecting USB‑C.
Power schedule
In FrightMaps, open the Hub, select a Ghost or Executioner, then open Power Schedule. Turn on Enable schedule, choose when it should sleep and wake, then save.
A five-hour nightly awake window lasts about 4–5 nights on a full charge; shorter show windows last proportionally longer.
Ghost enclosure
Ghost uses the same enclosure style as other FrightLink devices, but its 3.5 mm opening is intentionally sealed. Do not pry, pull, cut, or remove the rubber cap. Ghost does not use that port.
Hub cheat sheet
With the power connector on the right, that is the left-to-right order of the three 3.5 mm jacks. AUX is farthest from power and is the only jack that can operate as either an input or output.
Start-to-scare
Do not mount anything permanently until the entire chain works on a table. Pair close. Test close. Then move each piece into the haunt.
Once every device is above 40°F (4°C), charge each Ghost and Executioner with a regular 5V USB‑C charger—never a fast charger. Update FrightMaps to 5.1 or newer and turn on Bluetooth. Have your Wi‑Fi credentials ready only if you want OTA firmware updates or cloud triggering.
Connect the included adapter and let the Hub start with your phone nearby.
Open FrightMaps → FrightLink. Under Discover New Devices, choose your Hub and enter PIN 1234 when prompted.
Skip this step if you only need local operation. To enable OTA firmware updates and cloud triggering, open WiFi Configuration, enter the network name and password, tap Connect to WiFi, and give the Hub a useful location name.
Open your Hub, choose Find Sensors or Manage Sensors → Scan for Sensors, then pair and name each device one at a time.
With props powered off, plug each Executioner directly into its prop's Try Me port. Connect nearby wired props to the Hub, then assign the outputs and timing you want to the Ghost that starts the scene.
Open each Ghost and Executioner, enable its Power Schedule, and keep it asleep outside show hours. Wake it 30–60 minutes before opening and save the schedule.
Power the props back on. Test individual outputs first, then walk through the Ghost detection area and confirm the complete guest → scene → scare chain.
Quick rescue
Start with power, distance, and the simple stuff. Most first-pairing issues disappear when everything is charged and sitting together.
Email FrightLink supportConfirm the Hub has power, Bluetooth is enabled, and FrightMaps is updated to 5.1 or newer. Keep the phone close, return to the FrightLink device list, and refresh the scan.
Charge it fully and place it beside the powered Hub. With the accessory awake, hold BOOT/action for 3 seconds, then release before 10 seconds. Look for blinking blue, keep the Hub’s device discovery open, and pair one accessory at a time. Use the buttons and LED guide to identify the correct button; do not hold RST for 15 seconds.
Make sure the prop itself is set to Step Pad / Try Me mode and the cable is connected to its Try Me or step-pad input—not an audio jack. If it is connected to AUX, move it to PROP 1 or PROP 2, select that output in FrightMaps, and test again. Confirm the prop is powered and that the right port or Executioner is selected in the scene.
A sleep schedule can explain why a device is unavailable, but “offline” alone does not prove it is asleep. Check its schedule and last check-in, then use Wake now (15 min) and allow roughly 90 seconds. If it still does not respond, check power and distance and send diagnostics; do not clear pairing as the first step.
No. Ghost shares its enclosure style with other FrightLink hardware, but the unused 3.5 mm opening is intentionally sealed. Do not pry, cut, or remove the cap.
Yes. The core Ghost → Hub → output scene runs locally, so Wi‑Fi is optional. Connect the Hub to Wi‑Fi when you want OTA firmware updates or cloud triggering.
Welcome to FrightLink
Thank you for being one of the first haunters to put FrightLink in the field. We cannot wait to see what you bring to life.